Over the years, many beauty treatments — from waxes to chemical peels — have transitioned from in-office-only procedures to accessible parts of an at-home skin care routine, including dermaplaning. A way to exfoliate the skin on your face and neck by removing small hairs and dead skin cells, dermaplaning can help your complexion look smoother and brighter with just a few minutes of work.
Dermaplaning is by no means a must for your at-home grooming routine though — peach fuzz and facial hair is natural, normal and not something you should feel any obligation to remove if you don’t want to. But if your interest is piqued and you want some expert-approved tips and techniques for how to best dermaplane at home, we’ve got you covered.
What is dermaplaning?
Using a small razor or scalpel, dermaplaning helps to exfoliate the skin by removing dead skin cells and small hairs from the face and neck. Dr. Dara Spearman, board-certified dermatologist and owner of Radiant Dermatology Associates in Fort Wayne, Indiana, said other benefits of dermaplaning include more even makeup application and better absorption of skin care products.
While this story focuses on how you can dermaplane at home, you can also have dermaplaning procedures done by a dermatologist or licensed esthetician. “In a professional setting, a trained provider uses a surgical blade that removes not only peach fuzz but also three to five days worth of dead skin cells, leading to a deeper exfoliation,” Catie Boucher, dermatology-certified nurse practitioner, certified family nurse practitioner and founder of SavvyDerm, said. Boucher added that while dermaplaning done in an office or clinic usually leads to better and longer-lasting results, you’ll have to carve out time to make the appointment.
While at-home dermaplaning is not as precise, it’s more convenient and cost-effective. Spearman said that at-home dermaplaning tools are simple and relatively safe to use, though you’ll want to make sure you’re using the tools correctly to best avoid any nicks, cuts or skin damage.
How to dermaplane at home
Step 1: Prepare the skin
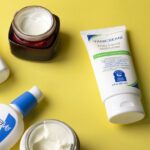
Before you pick up a facial razor, start by cleansing or double-cleansing your face to remove any dirt, oil and makeup. Kristin Gunn, licensed medical aesthetician and founder of Beaux MedSpa in Austin, Texas, recommended letting your skin air dry following cleansing. For dermaplaning, Spearman said you want your skin to be hydrated and damp (not wet) to allow the razor to glide easily.
Step 2: Grab your tools
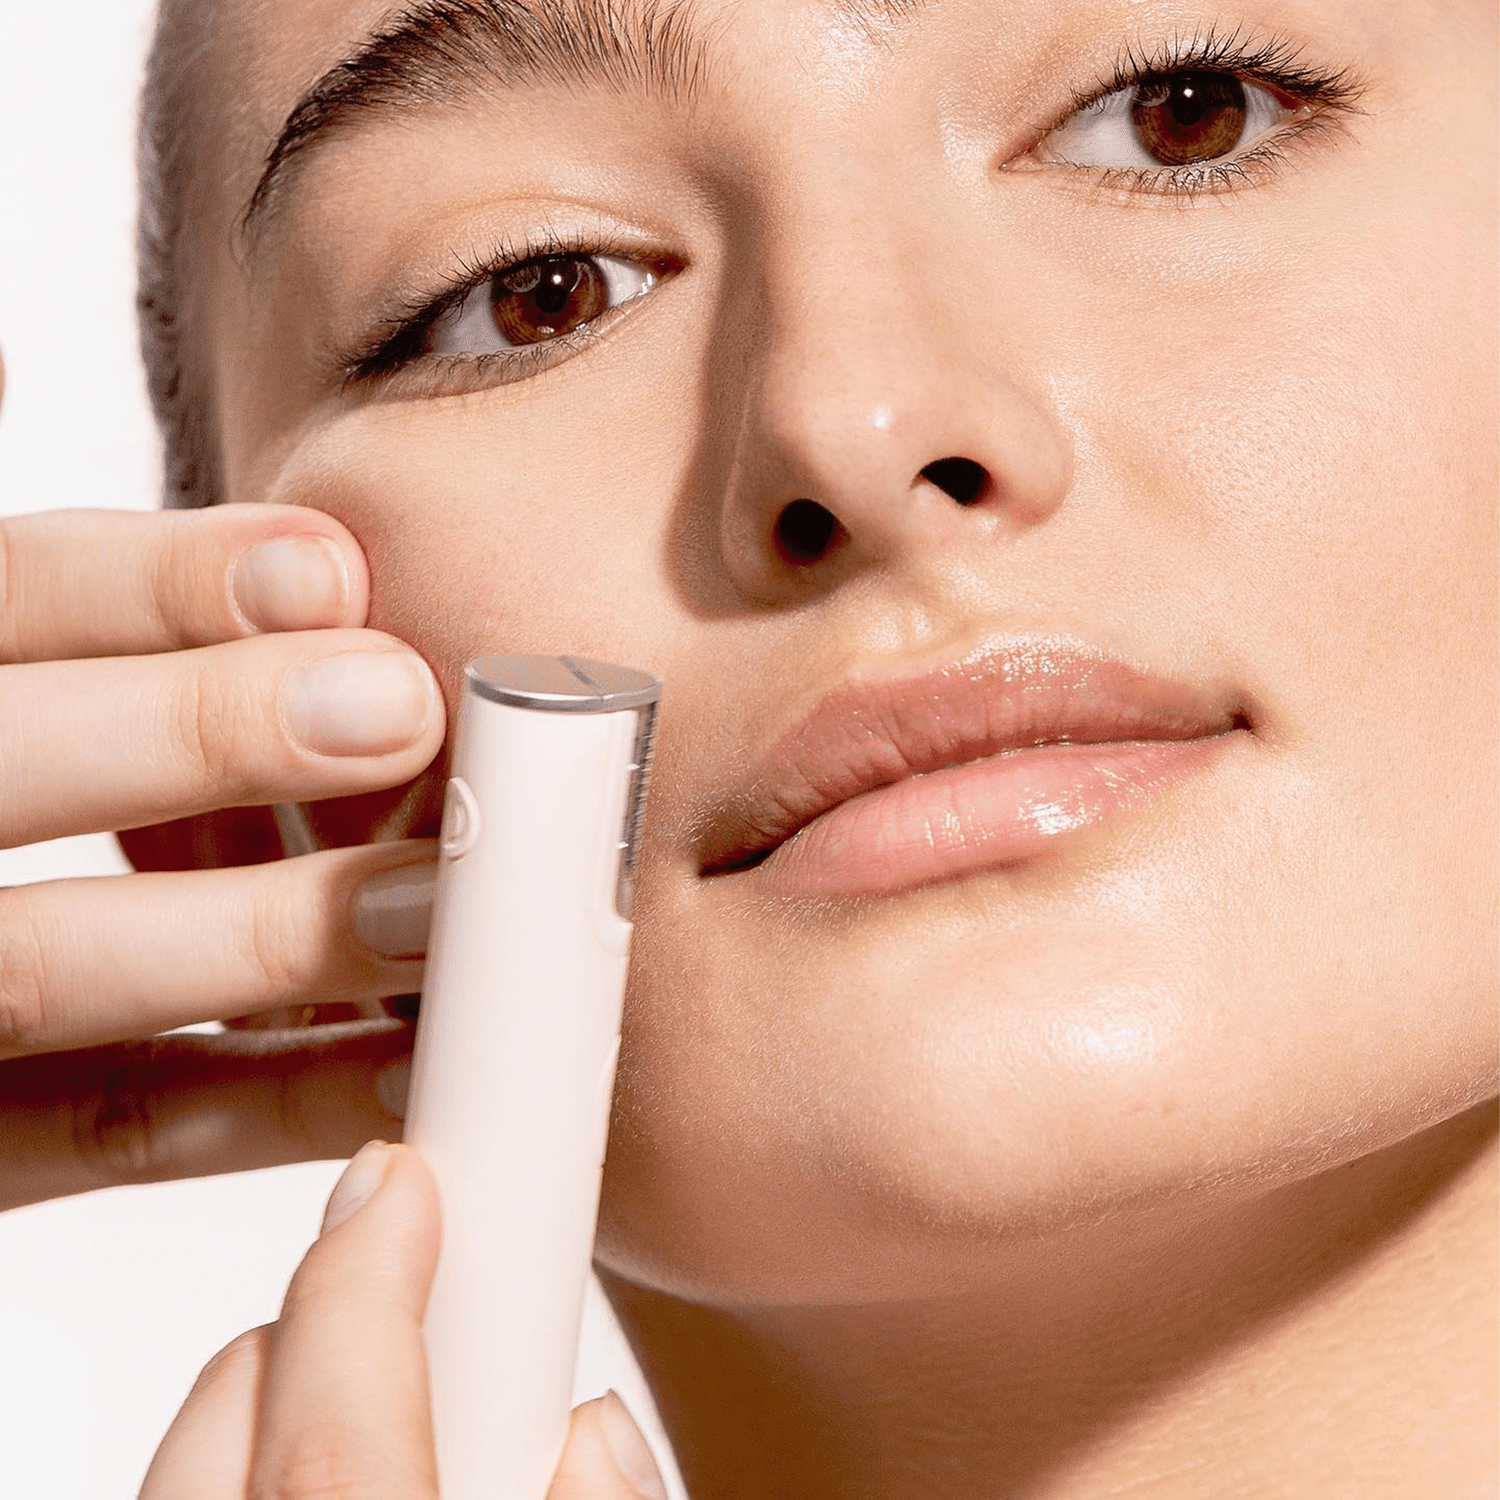
Once your skin is clean, you’re ready to start shaving — but don’t just grab any typical face or body razor for the job. You’ll want to use a tool designed specifically for dermaplaning, which will help prevent needless nicks or cuts. “Razors designed specifically for dermaplaning are ergonomically created to work with the contours of the face, allowing for a safer and more effective treatment,” Boucher said.
Double board-certified dermatologist Dr. Purvisha Patel also recommended grabbing a dermaplaning tool made of surgical-grade stainless steel to ensure both better cleanliness and sharpness.
Step 3: Use proper technique
When dermaplaning, Gunn said to pull skin upward until it’s taut, then hold the dermaplane razor at a 45-degree angle, make short downward strokes against the skin. The angle of the razor does matter here. “If held at a higher angle, you may have a higher risk of nicks or cuts,” Spearman said. “If it’s too parallel to the skin, you won’t get proper exfoliation.” Because proper technique calls for you to touch your face, Gunn also recommended thoroughly washing your hands before beginning to dermaplane.
Using this technique, Gunn said to work in small sections, about an inch or so wide, and added that you only need to apply a light amount of pressure to properly exfoliate the skin. “I like to start around the ear area and work my way down to the jawline, moving inward towards the cheek, chin and upper lip,” Gunn said. “I tend to save the eyebrow area for last due to the coarse hair potentially dulling the razor.” You can also dermaplane down your neck, though Gunn said that this area tends to be much more sensitive and recommended doing a patch test on a small area first.
While dermaplaning is generally safe for most ages and skin types, there are some exceptions. “I do not recommend dermaplaning for individuals with active acne, open wounds or eczema,” Boucher said. “If the skin’s barrier is compromised in any way, dermaplaning should be avoided.” Spearman added that those with sensitive skin or conditions like rosacea should be careful with at-home dermaplaning, as well as those with mature skin who may have areas of thin or delicate skin.